

| Omeka downloadable: | Omeka.net |
| LAMP server required | No server required |
| Web-based administrative interface | Web-based administrative interface |
| Add, edit, delete items, item types, collections, exhibits | Add, edit, delete items, item types, collections, exhibits |
| Customize themes and plugins by editing server files | Configurable themes and plugins through admin interface |
| Storage space determined by your server and/or server administrator | Storage space according to the plan you choose |
| Unlimited number of plugins and themes | Plugins and themes determined by the plan you chose |
| File size limitations, determined by your server administrator | File size limitation: 64mb |
| One site per installation | Multiple sites, depending on your plan, per user account |
| Free! | Free basic plan always available with other options for small fee |
| FTP client required | No FTP client required |
Typical top level navigation and sections for a typical Omeka Classic site include:
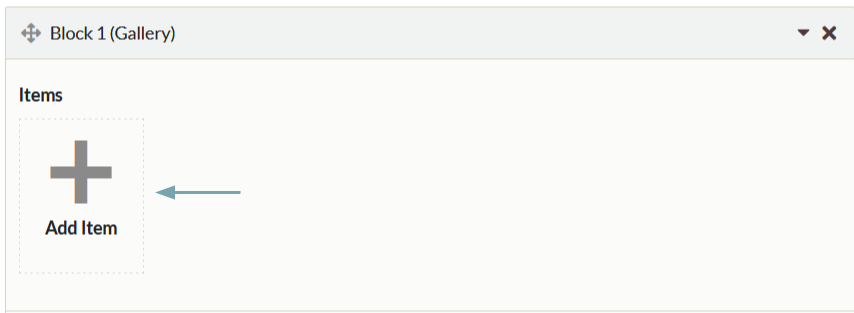
Exhibit Builder can be used to publish essays or teaching materials that draw upon the items in your archive.
Before you build an exhibit, it is easier to sketch out a storyboard or outline that spells out the sections, pages, and items for each page.
Each exhibit is comprised of sections that contains pages.
Each page can contain a selection of items and some narrative text, or captions.
The Exhibit Builder plugin allows you to develop online exhibits, or special web pages, that combine items from your Omeka Classic site and may include narrative text.
Sign up for a free account.
Choose a domain name that reflects the topic of your research, so that others interested in this topic can better find you on the web.
Invite others to collaborate and help manage the website by becoming administrative users.
Choose and configure a design theme.
Add a header image, and think about ways to customize the navigation or display of Dublin Core fields (all can be edited later) for item record pages.
Install plugins that you will be using for this site, such as the Exhibit Builder and Simple Pages.
Plan which sources and files you want to include in the site, and gather any bibliographic or descriptive data together for uploading.
Upload sources and files to build the website’s “archive.”
Tag items as you add them if you want to make connections between different sources or organize items by themes. Once added, tags may be edited or deleted.
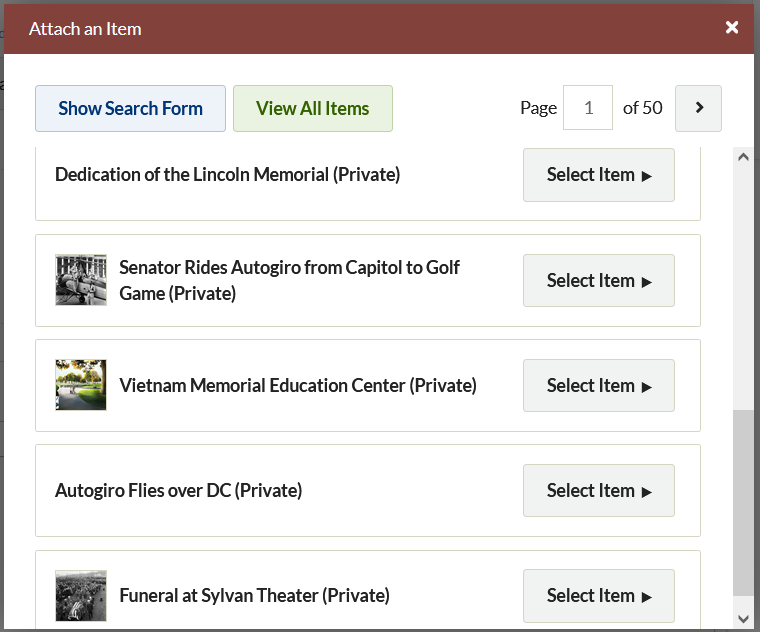
Click the X in the upper right corner of the Attach an Item window at any time to exit the process.
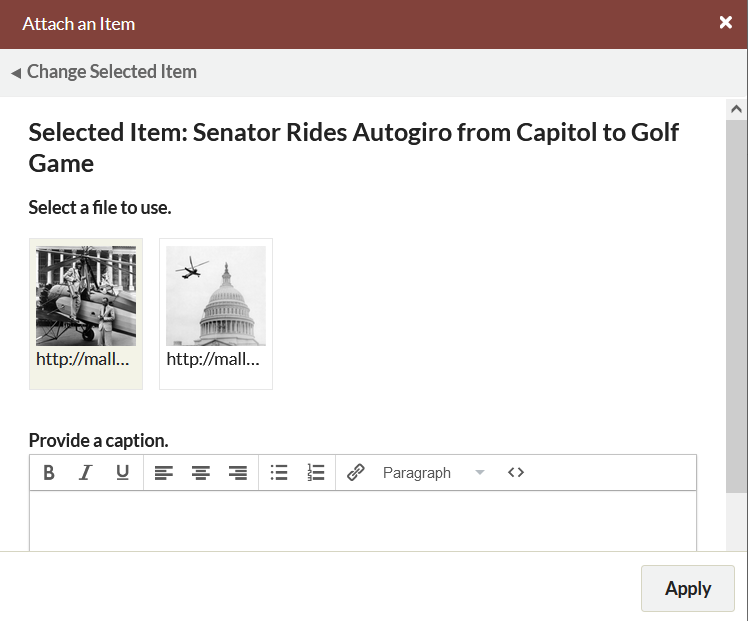
Once you have added an item, you can change the caption or selected file by clicking the edit button which sits across the bottom of the item icon.
To add multiple files from the same item, simply add the same item to the block, choosing a different file to represent the item each time.
To delete items, click the x in the upper right hand corner of the item icon; this will gray out the icon, indicating that it will be deleted the next time you save changes. If you decide not to delete the item, you can click the curved arrow which replaced the x, but you must do so before you save your changes.
In the image below, the middle item has been marked for deletion. A red arrow points to the X to delete the third item.

Exhibit text can be formatted using the text editor bar. To write your own html, or paste from somewhere else, click the blue HTML button in the formatting toolbar at the top of the text entry box. This will open up an HTML Source Editor window in which you can work.


